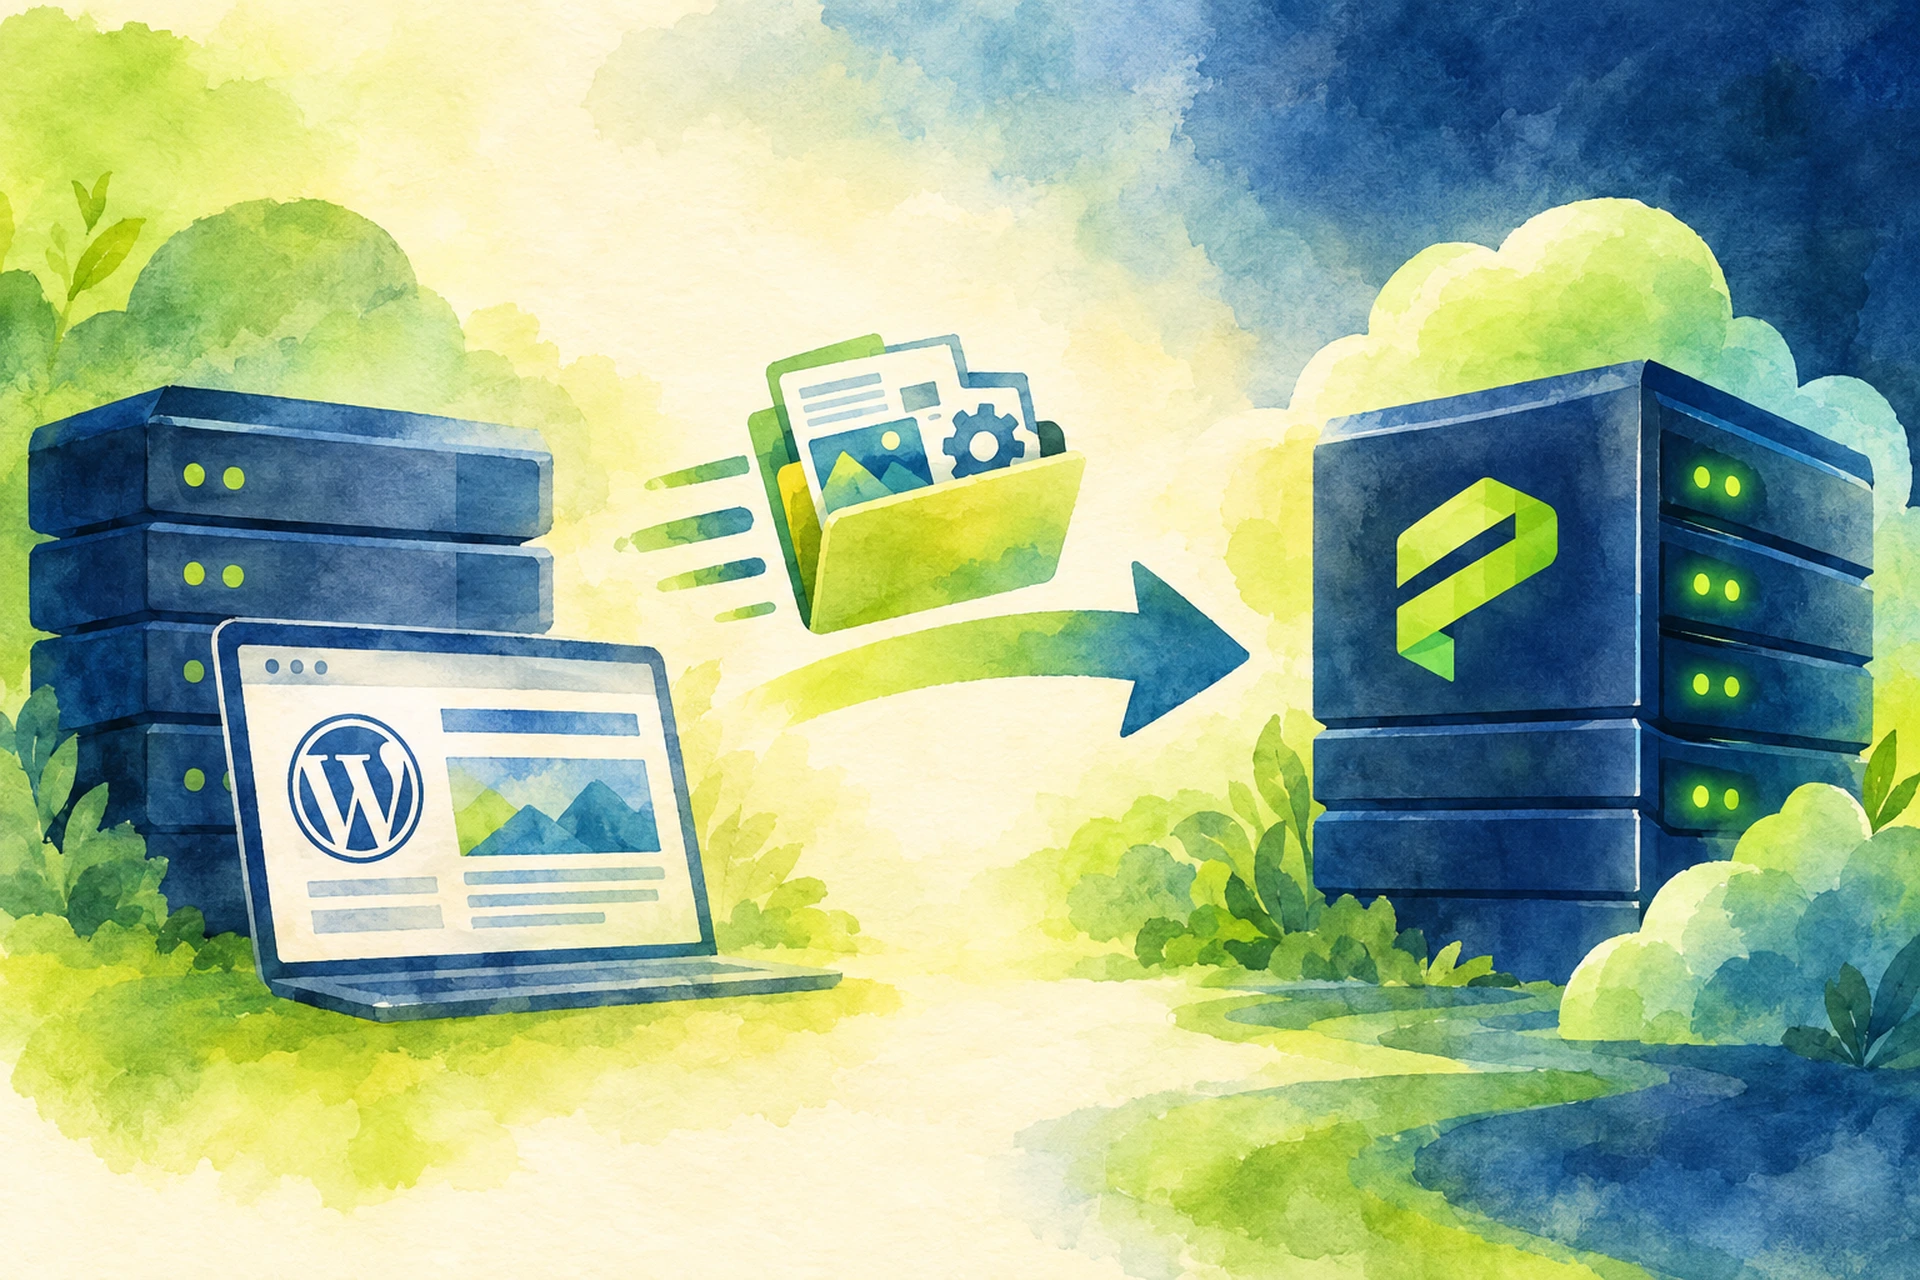
Migrating a WordPress site sounds scary. You picture broken images, missing pages, a mangled database, and a client asking why the site is down. The good news: with a bit of planning, moving WordPress to a new host is a predictable process, not a gamble.
This guide walks through exactly how to migrate your site safely, step by step, whether you're moving from shared hosting, another VPS, or a different managed provider.
Why WordPress Migrations Go Wrong
Most migration headaches come down to three things: the database isn't exported cleanly, file permissions get scrambled, or URLs don't get updated properly when the domain or path changes. WordPress stores your site URL directly in the database in dozens of places, so a sloppy move often means half your links point to the old server.
Knowing this ahead of time means you can prevent it instead of fixing it after the fact.
Step 1: Take a Full Backup Before You Touch Anything
Before you migrate anything, back up your current site completely. That means both the files (themes, plugins, uploads, wp-config.php) and the database.
- Export your database through phpMyAdmin or a plugin like UpdraftPlus or Duplicator.
- Download your wp-content folder, especially the uploads directory with your media library.
- Save a copy of wp-config.php separately, since it has your database credentials and keys.
If your current host doesn't make backups easy, that alone is worth noting. A proper backup system should let you create a backup on demand, browse it file by file, and restore individual pieces if something goes sideways, not just generate one giant zip file and hope for the best.
Step 2: Set Up the Destination Environment First
Don't try to migrate into a half-configured server. Get your new environment ready before you move a single file.
- Create the database and database user on the new server.
- Match your PHP version to what your current site uses, or better, to what your plugins actually require.
- Install SSL ahead of time so your site isn't served over HTTP even for a few minutes.
If you're setting up a VPS from scratch for this move, it helps to understand what you're actually choosing between. We covered the practical differences in Why Managed VPS Hosting Is the Sweet Spot for Growing Web Projects.
Step 3: Transfer Files and Database
There are a few reliable ways to move your site over:
- Migration plugin: Tools like Duplicator or All-in-One WP Migration package your entire site into one file you can import on the new server. Good for most sites under a few gigabytes.
- Manual SFTP + database import: Upload your files via SFTP, then import the database through phpMyAdmin or the command line. More control, slightly more work.
- Host-assisted migration: Many managed hosts, including us, will do the heavy lifting for you if you ask, especially for larger or more complex sites.
Whichever method you choose, don't delete anything from the old server until you've confirmed the new site works end to end.
Step 4: Update URLs With Search and Replace
This is the step people forget, and it's the one that causes the most visible problems after a migration. If your domain changes, or even if it stays the same but the path changes, WordPress needs its internal URLs updated throughout the database, not just in Settings > General.
Running a careful search and replace across the database catches serialized URLs in post content, widget settings, and theme options that a simple settings change won't touch. Tools built for this job handle the tricky part, which is that WordPress sometimes stores URLs inside serialized PHP arrays. A naive find-and-replace on those breaks the data structure entirely and can corrupt your settings instead of fixing them. A proper search and replace tool understands serialization and updates the string length counts to match, so nothing breaks.
Step 5: Point DNS to the New Server
Once you've confirmed the site works correctly on the new server (test it using a hosts file edit or a temporary URL before going live), update your DNS records to point to the new IP address.
DNS changes can take anywhere from a few minutes to 48 hours to propagate fully, depending on your TTL settings. Lower your TTL a day or two before the migration if you can, so the cutover happens faster. If DNS management isn't something you've dealt with before, DNS management is worth understanding before migration day, not during it.
Step 6: Verify Everything Before You Celebrate
Don't consider the migration done the moment the site loads. Check these specifically:
- Forms submit correctly and emails send
- Media library images display (a common failure point if the uploads folder structure changed)
- Plugins that rely on absolute file paths still work
- SSL is active and there's no mixed content warning
- Page load speed is comparable or better than before
It also helps to run a quick security pass after the move. We walk through a solid starting checklist in The WordPress Security Checklist Every Site Owner Should Run Through Once a Quarter.
Keep the Old Server Running for a Few Days
Don't cancel your old hosting plan the moment DNS switches over. Keep it active for at least a week as a safety net, in case you spot something broken later or need to grab a file you missed. Once you're confident everything is stable on the new server, that's when you close things out.
When to Let Your Host Handle the Migration
If your site has a large media library, custom code, or multiple environments (staging, production, client sandboxes), doing this manually eats up a day you probably don't have. A good WordPress migration service will take care of the file transfer, database export and import, and URL search-and-replace for you, testing the site before it ever touches your live domain. That's often the safer route for anything beyond a simple blog.
The Takeaway
A clean WordPress migration comes down to backing up thoroughly, preparing the destination first, transferring files and database together, fixing URLs properly, and verifying everything before you flip DNS. Rush any one of those steps and you'll spend more time fixing problems than you saved by skipping the checklist. Take it slow, check your work at each stage, and the move will go a lot smoother than you expect.