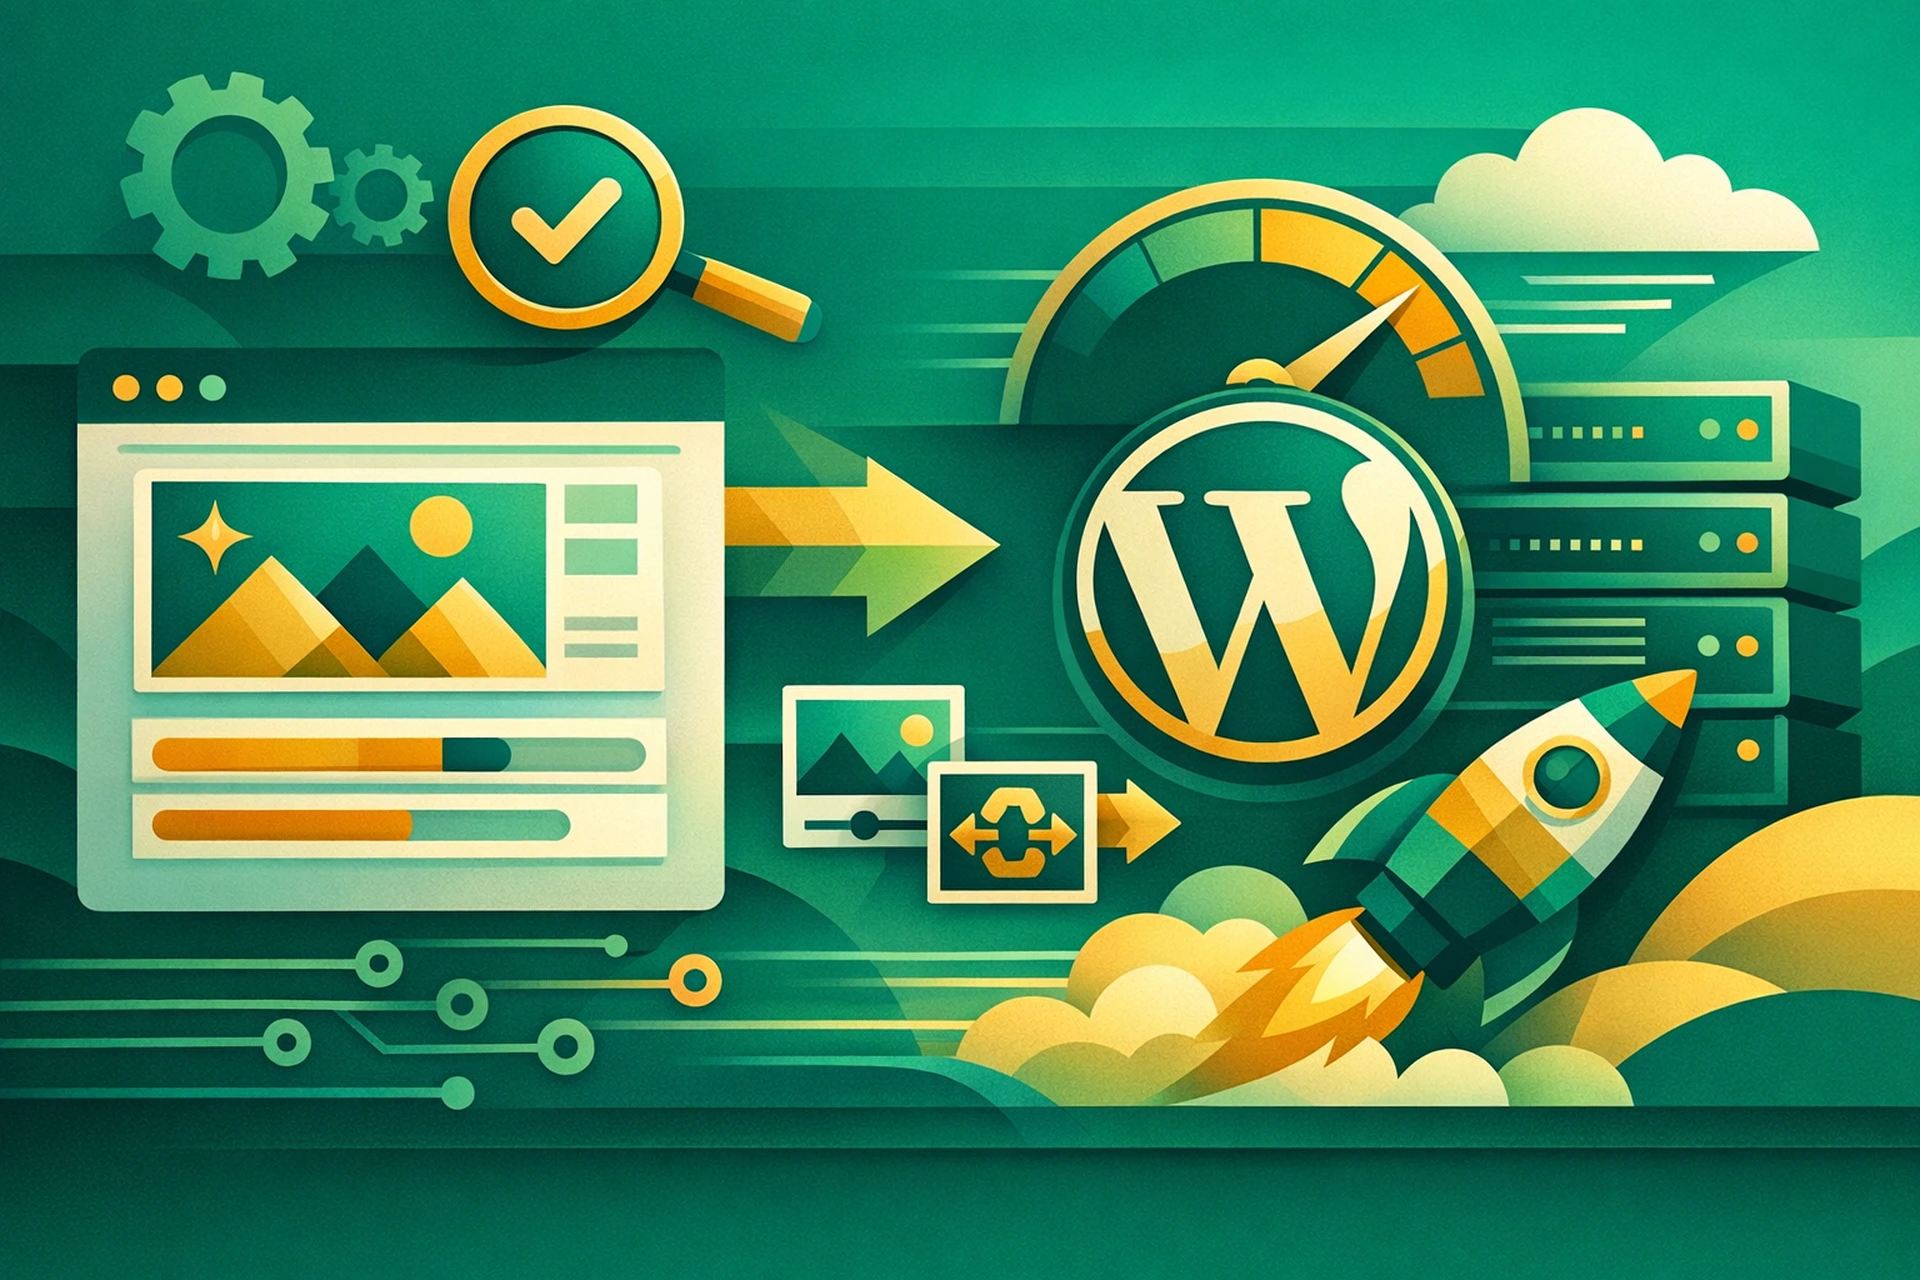
If your WordPress site feels sluggish and you haven't touched your images yet, you're sitting on the biggest performance win available to you. Images are, by a wide margin, the heaviest assets on most web pages. On the average WordPress site, images account for more than 50% of total page weight. Fix them, and you'll often see load time improvements that no amount of plugin tweaking or code minification can match.
This isn't theory. It's consistently the first thing worth doing when a site underperforms, and the results are usually immediate and measurable.
Why Images Are the Biggest WordPress Speed Bottleneck
Most people upload images straight from their camera or phone. A single photo taken on a modern smartphone can be 4MB or larger. Multiply that by ten images on a page, and you've just asked your visitor's browser to download 40MB of data before it can finish rendering.
Even images that look small on screen can be enormous in file size. A product thumbnail displayed at 300 pixels wide might have been uploaded at 3000 pixels. The browser downloads the full resolution image and then scales it down visually. You're paying the full bandwidth cost for a fraction of the visual benefit.
This is why WordPress speed optimization often starts - and sometimes ends - with images. There's no faster route to a lighter page.
The Four Core Image Optimization Techniques
1. Choose the Right File Format
JPEG has been the default for photos for decades, but it's no longer the best option. WebP delivers roughly 25-35% smaller file sizes at equivalent visual quality. AVIF goes even further, often cutting sizes in half compared to JPEG.
Most modern browsers support both formats. The practical approach is to serve WebP to browsers that support it and fall back to JPEG for older ones. Plugins like Imagify, ShortPixel, and Squoosh handle this conversion automatically. We covered the technical differences between these formats in depth in How Image Compression Formats Like WebP and AVIF Shorten Your Load Times.
2. Compress Before You Upload
Compression reduces file size without noticeably affecting visual quality. There are two types:
- Lossy compression discards some image data permanently. Done well, the difference is invisible to the human eye, but file sizes drop dramatically - often 60-80%.
- Lossless compression removes metadata and redundant data without touching visual information. The savings are smaller but the image is byte-for-byte identical to the original in appearance.
For most WordPress sites, lossy compression at 80-85% quality hits the sweet spot. The images look sharp on screen. The file sizes become manageable. A 2MB JPEG can often become a 200KB WebP with no visible degradation at all.
3. Resize Images to Their Display Dimensions
WordPress generates multiple image sizes automatically when you upload a file. But if your theme is pulling the original full-size image for a 400-pixel-wide thumbnail, WordPress's built-in resizing hasn't helped you at all.
Check which image sizes your theme actually uses. You can find this under Settings > Media in your WordPress dashboard, or by inspecting the rendered HTML to see what size is being loaded. If you see images like my-photo-scaled.jpg at 2560px wide being loaded for a sidebar widget, you have a direct problem to fix.
Plugins like Regenerate Thumbnails let you rebuild all your image sizes after you've adjusted the settings, so existing uploads match your new dimensions too.
4. Lazy Load Images Below the Fold
Lazy loading means images don't download until a visitor scrolls close to them. The browser only loads what's immediately visible, deferring everything else.
WordPress has had native lazy loading built in since version 5.5. Every <img> tag gets a loading="lazy" attribute by default. But your hero image - the first large visual element a visitor sees - should never be lazy loaded. It needs to load immediately to avoid hurting your Largest Contentful Paint score.
Make sure your main above-the-fold image has loading="eager" or no loading attribute at all. Let everything else lazy load.
WordPress Speed Optimization: Plugin Options That Do the Heavy Lifting
You don't have to handle image optimization manually. Several WordPress plugins automate the entire process.
- Imagify - Converts to WebP, compresses on upload, and can bulk-optimize your existing media library. Has a generous free tier.
- ShortPixel - Supports WebP and AVIF, offers both lossy and lossless modes, and integrates with popular page builders cleanly.
- Smush - Good for beginners. The free version handles lossless compression and lazy loading. Pro adds WebP conversion and CDN delivery.
- Squoosh (standalone web tool) - Not a plugin, but excellent for manual optimization of important individual images before upload.
If you're on a managed WordPress hosting plan, image optimization may already be handled at the server level, running automatically as files are uploaded rather than relying on a plugin to do it after the fact. That removes one more thing from your to-do list.
For a broader look at which WordPress speed fixes are actually worth your time, this breakdown of high-impact vs. low-impact optimizations is a useful companion read.
How to Measure the Impact on Your Load Times
Before you optimize, run a baseline test. Use Google PageSpeed Insights or GTmetrix and note your current load time, page weight, and any image-related warnings. Common flags to look for include:
- "Serve images in next-gen formats"
- "Properly size images"
- "Efficiently encode images"
- "Defer offscreen images"
After optimizing, run the same test again. It's common to see total page weight drop by 40-60% from image changes alone. That directly translates to faster load times, better Core Web Vitals scores, and lower bandwidth consumption.
Pay particular attention to your Largest Contentful Paint (LCP) score. If your hero image was unoptimized, fixing it can move your LCP from "Poor" to "Good" in a single change. LCP is one of the three Core Web Vitals Google uses as a ranking signal, so the SEO benefit is real and direct.
The WordPress Speed Optimization Gains You Can Expect
Real numbers vary by site, but here's what's typical after a thorough image optimization pass:
- Page weight reduced by 50-70% on image-heavy pages
- Load time improvements of 1-3 seconds on mobile connections
- LCP score improvements of 30-50% in many cases
- Significant reduction in bandwidth costs, especially for high-traffic sites
These are not marginal gains. A three-second improvement in mobile load time can double your conversion rate on some pages. The data on this is consistent across industries.
For context on how server-side factors interact with your image delivery, see Why Your Time to First Byte Is Costing You Conversions. Image optimization and server performance work together - you need both.
A Simple Image Optimization Checklist
Before you call a page fully optimized, run through this list:
- Are all images compressed? Aim for under 150KB for most images, under 500KB for large hero images.
- Are you serving WebP to browsers that support it?
- Are images sized to their actual display dimensions, not larger?
- Are below-the-fold images lazy loading?
- Is your LCP image loading eagerly without delay?
- Do all images have explicit width and height attributes to prevent layout shifts?
Work through this list once, set up automatic compression on upload going forward, and you've handled the single biggest performance lever available in WordPress. Everything else - caching, minification, CDNs - builds on top of this foundation. Start here, and the rest of your optimization work becomes noticeably easier to measure and manage. For more on how we handle performance at the server level, see our WordPress optimization overview.