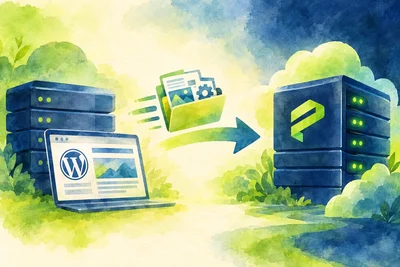
Moving your WordPress site to a new host sounds simple until you're halfway through and realize you forgot to export your email forwarding rules, or your SSL certificate didn't come along for the ride. A botched migration can mean hours of downtime, lost SEO rankings, or worse, missing content.
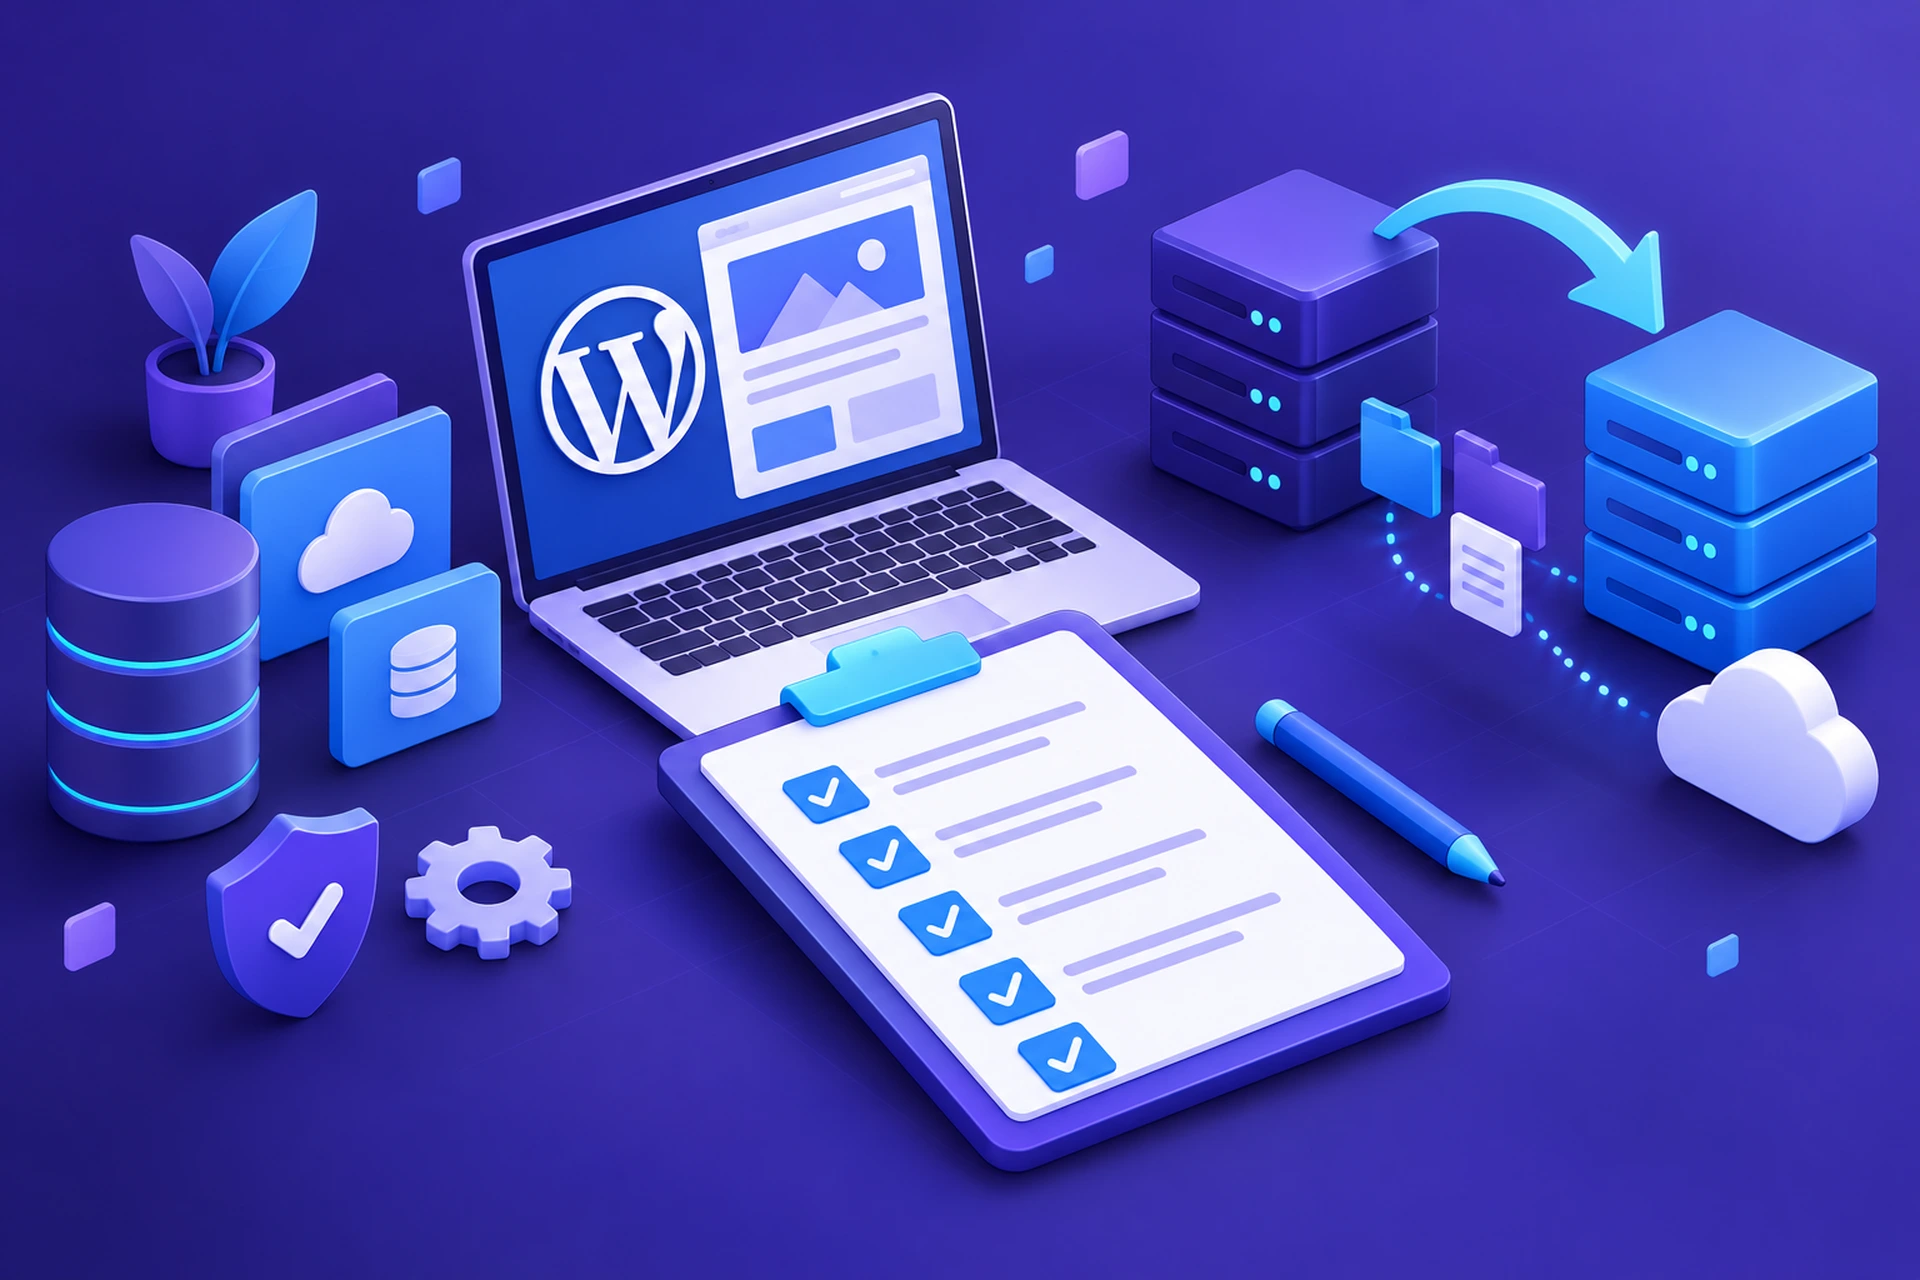
The good news? Almost every migration disaster is preventable with a bit of planning. Here's the checklist we recommend running through before you touch a single file.
1. Back Up Everything Before You Start
This is non-negotiable. Before you migrate anything, take a full backup of your current site, both files and database.
- Full file backup (themes, plugins, uploads, wp-config.php)
- Full database export (all tables, not just posts and pages)
- A copy stored somewhere other than your current host, like your own computer or cloud storage
If your current host offers one-click backups, use it. If not, plugins like UpdraftPlus or Duplicator can handle both files and database in one package. Keep this backup even after the migration succeeds. It's your safety net if something looks wrong a week later.
2. Audit Your Plugins and Themes
Migrations are a great excuse to clean house. Go through your plugin list and ask honestly: do you still use this?
- Deactivate and delete plugins you haven't touched in six months
- Update everything that's staying to the latest version before you migrate
- Note down any premium plugin license keys, since you'll likely need to reactivate them on the new domain or server
Fewer plugins means a lighter migration and a faster site once you land on the new host.
3. Document Your DNS Settings
DNS is where most migration headaches actually live. Before you switch, write down:
- Your current A records, CNAME records, and MX records
- TTL (time to live) values for each record
- Any custom subdomains pointing to specific services
Lower your DNS TTL to something short, like 300 seconds, a day or two before the move. This way, when you do update your records to point to the new server, the change propagates faster instead of leaving visitors stuck on the old host for 24-48 hours.
Don't Forget Email
If your email runs through the same domain, make sure you know exactly how it's configured before you touch anything. Switching hosts shouldn't mean losing your inbox. Business email hosting often runs on separate records from your website, so confirm that before you make changes.
4. Choose a WordPress Migration Service or Plugin
You have a few paths here. You can migrate manually with FTP and phpMyAdmin, use a plugin, or let a WordPress migration service handle the heavy lifting for you.
For most site owners, a dedicated WordPress migration service is worth it. It removes the guesswork around file permissions, database table prefixes, and search-and-replace operations on serialized data (which, if done wrong with a basic find-and-replace, can corrupt your entire database). A good migration service also knows how to handle large media libraries without timing out.
If you're moving to a new managed host, ask upfront whether they offer free migration assistance. Many do, and it's usually faster and safer than doing it yourself, especially if you've never dealt with serialized PHP data before. We've walked through exactly what this looks like in How to Move Your WordPress Site to Proginter Without Losing Any Content or Settings.
5. Test on a Staging Environment First
Never migrate directly to a live, public-facing setup if you can avoid it. Set up a staging environment on the new host, run your migration there, and check everything before pointing your domain at it.
Things to test on staging:
- Every page type: homepage, posts, product pages, forms
- Site search and navigation menus
- Checkout flow if you run WooCommerce
- Contact forms actually sending emails
- Admin login and user roles
A staging environment lets you catch broken links, missing images, or database errors before your visitors ever see them.
6. Check SSL and HTTPS Configuration
Your SSL certificate doesn't automatically travel with your files. Confirm that your new host issues a fresh certificate for your domain, and that it's active before you flip DNS over. Most managed hosts handle this automatically, but it's worth double-checking rather than assuming. Mixed content warnings after a migration are usually a sign the certificate or internal links still point to the old http:// version.
7. Plan Your Cutover Timing
Pick a low-traffic window for the actual switch, usually late at night or early morning for your main audience's timezone. Put a maintenance notice up if you expect any downtime, and have a rollback plan ready, meaning your old host stays active and untouched until you've confirmed everything works on the new one.
8. Verify After the Move
Once DNS has propagated and the new site is live, run through this quick verification pass:
- Check Google Search Console for crawl errors
- Confirm your sitemap is accessible
- Test site speed with a tool like GTmetrix or PageSpeed Insights
- Make sure redirects are in place for any changed URLs
- Watch your uptime monitoring for the first 48 hours
Uptime monitoring during this window gives you an early warning if something's wrong rather than finding out from an angry customer email.
The Bottom Line
A smooth WordPress migration service experience comes down to preparation, not luck. Back up everything twice, document your DNS, clean up your plugins, and test on staging before you go live. If the technical parts make you nervous, that's exactly what a good migration service is for, so you don't have to learn database serialization the hard way. We've also covered the broader process in What the Move to Cloud Hosting Really Involves, which applies just as well to a straightforward host switch.