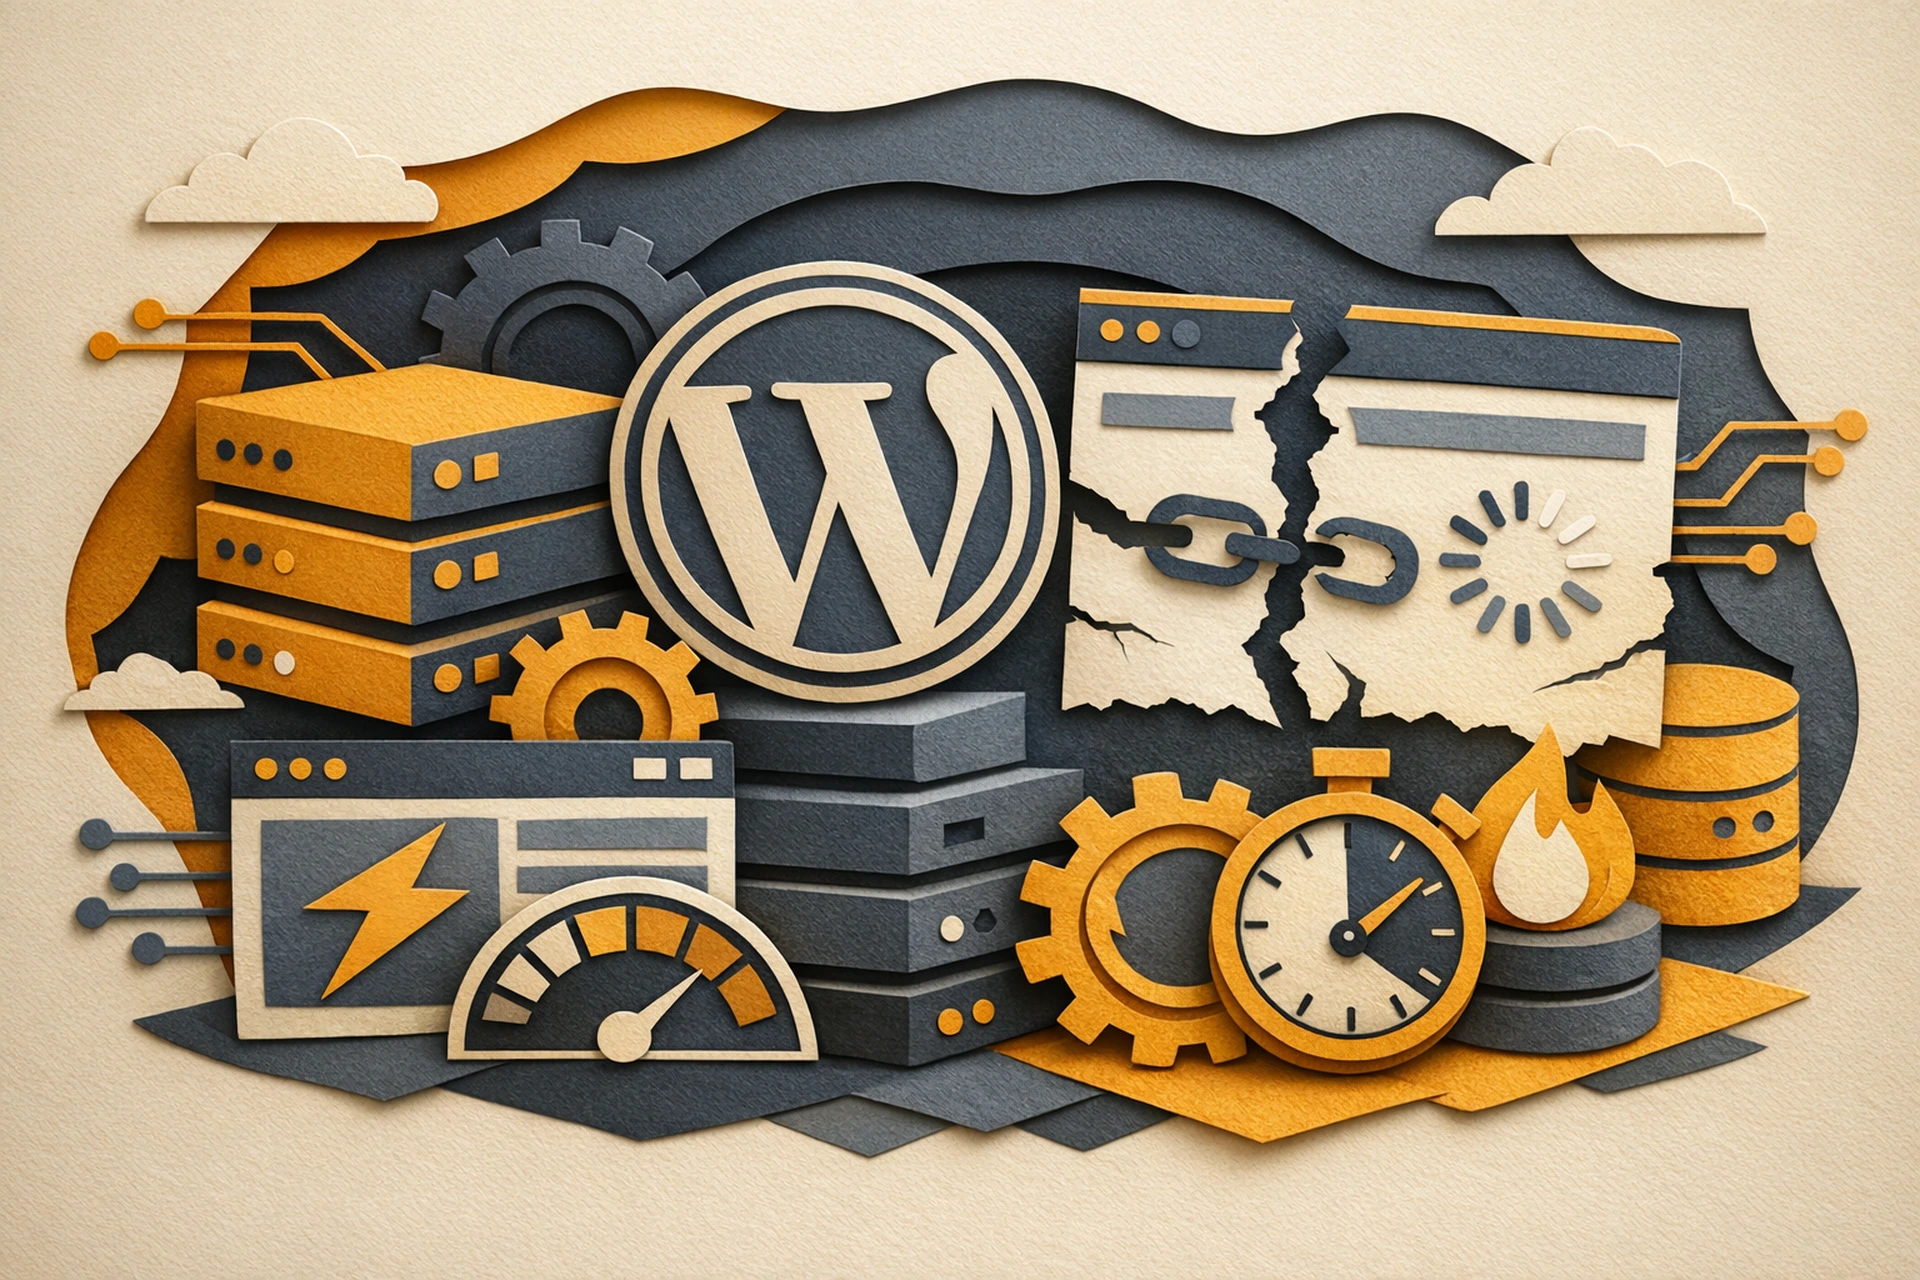
You install a caching plugin, hit save, and suddenly your website looks broken. Menus are missing, JavaScript errors are popping up, or your checkout page has gone completely haywire. Sound familiar?
Caching is one of the most powerful tools for WordPress speed optimization — but it's also one of the easiest ways to accidentally wreck your site if you don't know what you're doing. The good news: most breakage is predictable, preventable, and easy to fix once you understand what's actually happening.
Why Caching Can Break Things (And Why It's Worth It Anyway)
A cache works by saving a static copy of your page and serving that copy to visitors instead of rebuilding the page from scratch on every request. This makes your site dramatically faster. But that saved copy doesn't always know about changes you've made, JavaScript that needs to run on page load, or dynamic content that should be different for each visitor.
That tension — between speed and dynamism — is the root cause of almost every caching-related problem.
The payoff is real, though. A well-configured cache can cut your server load in half and shave seconds off your load times. For context on how much load time actually matters, this piece on Time to First Byte and conversions shows exactly what slow responses cost you.
The Most Common Caching Mistakes (And How to Avoid Them)
1. Caching Pages That Should Never Be Cached
Some pages absolutely cannot be served from a static cache. These include:
- Cart and checkout pages (WooCommerce or any ecommerce)
- Account/login pages
- Any page with a form that uses a nonce
- Pages displaying content specific to a logged-in user
Every major caching plugin has an exclusion list. Use it. Add these pages by URL pattern and don't skip this step. Most plugins pre-fill some of these exclusions, but always verify they're there before you go live.
2. Combining and Minifying CSS and JS Too Aggressively
Asset combining takes multiple CSS or JavaScript files and merges them into one. This can speed up load times — but it can also break your site when two files conflict, or when a script assumes it loads in a specific order.
The safest approach: enable minification first (removing whitespace and comments), then test. Only move on to combining assets once you've confirmed the site still works. If something breaks after combining, most plugins let you exclude specific files by filename or pattern.
3. Delaying JavaScript That Needs to Run Immediately
Delay JS is a genuinely powerful WordPress speed optimization technique. It holds back JavaScript until a user interacts with the page — a scroll, a click, a keystroke — which can dramatically improve your initial load scores.
But some scripts need to run right away. Chat widgets, cookie consent banners, tracking pixels, and certain slider or animation libraries can all break if they're delayed. If you enable JS delay and something stops working, start by excluding the affected scripts from the delay rules. Most plugins support exclusion by script handle, filename, or keyword.
4. Removing CSS That Looks Unused But Isn't
Remove Unused CSS (RUCSS) is powerful but fragile. It analyzes your page and strips out CSS rules it doesn't detect being used. The problem? It can't always see CSS applied by JavaScript dynamically — dropdown menus, modal windows, tooltip styles, anything that appears only after user interaction.
If you enable RUCSS and your menus disappear or your modals look unstyled, the fix is to add those CSS selectors to a safelist. Most plugins call this a "safelist" or "whitelist" — it tells the tool to never remove those rules, no matter what.
5. Not Testing After Every Change
This one is simple but constantly ignored. Every time you flip a new optimization switch, test your site. Browse it as a logged-out visitor. Check your homepage, a blog post, your shop page, your cart, and your checkout. These five pages catch 90% of caching problems.
Better yet, test on a staging environment first. Pushing untested caching changes to a live site is how you create emergencies at midnight.
WordPress Speed Optimization With Caching: A Safe Starting Order
Rather than enabling everything at once, work through settings in this order. Test after each step before moving on.
- Enable page caching only. This is the biggest win with the lowest risk. Make sure your exclusion list covers cart, checkout, and account pages.
- Enable HTML minification. Low risk, noticeable size reduction.
- Enable CSS and JS minification (not combining yet). Test everything.
- Enable lazy loading for images. Generally safe, but check your above-the-fold images load correctly.
- Enable JS deferral. This delays non-critical scripts. Test interactive elements carefully.
- Enable JS delay (if available). More aggressive than deferral. Add exclusions for anything that breaks.
- Enable asset combining. Highest risk step. Exclude files that cause conflicts.
- Enable RUCSS. Save this for last. Build your safelist as you go.
Which Caching Plugins Are Worth Using
There are several solid options depending on your setup:
- WP Rocket — The most beginner-friendly option. Good defaults, clear UI, solid support. Paid, but worth it for most site owners.
- LiteSpeed Cache — Excellent if your server runs LiteSpeed. Free and very capable.
- W3 Total Cache — Powerful and free, but the interface is complex. Easy to misconfigure.
- Autoptimize — Focused on asset optimization rather than full page caching. Works well alongside other cache plugins.
- Flying Press — A newer option with a clean interface and solid RUCSS implementation.
Don't run two full caching plugins at the same time. They'll conflict with each other and usually make things worse, not better.
Don't Forget Object Caching
Page caching saves the final HTML output. Object caching is different — it stores the results of database queries in memory so WordPress doesn't have to re-run them on every request.
For busy sites, especially those with lots of dynamic content or complex queries, object caching (typically powered by Redis) can make a significant difference. A good Redis setup can serve cached query results in microseconds instead of milliseconds. Setting up Redis without breaking things covers the technical side in detail.
On managed WordPress hosting, object caching is often available without any plugin — it runs at the server level automatically. (That's how we handle it — Redis is built in, and the cache populates itself as pages are visited.)
When to Clear Your Cache
This trips up a lot of people. You update a page, refresh the browser, and nothing changed. That's because your old cached version is still being served.
Clear your cache after:
- Publishing or editing any page or post
- Updating a plugin or theme
- Changing your site's appearance in any way
- Making changes to menus or widgets
Most caching plugins can auto-purge when you publish changes. Enable this. It removes a whole category of "why doesn't my update show up?" confusion.
The Bottom Line on WordPress Speed Optimization With Caching
Caching is not a set-and-forget tool — at least not until you've configured it carefully. But once it's dialed in, it genuinely transforms your site's performance.
Start slow. Test every step. Use exclusion lists liberally. And if something breaks, don't panic — just work backwards through the settings you last changed.
For a broader look at which speed improvements actually move your metrics, see the WordPress speed fixes worth your time — it puts caching in context alongside all the other tools at your disposal.
For more on how caching fits into the full picture, our WordPress optimization overview covers what's happening at the server level alongside everything you configure in your plugin.